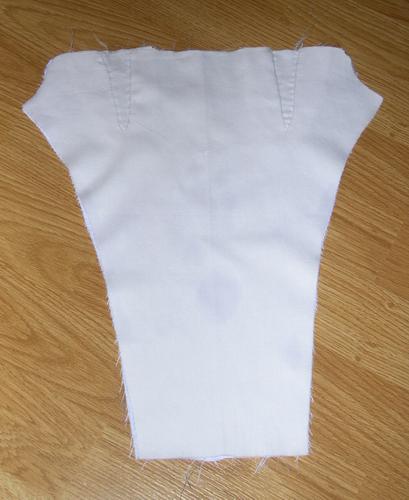
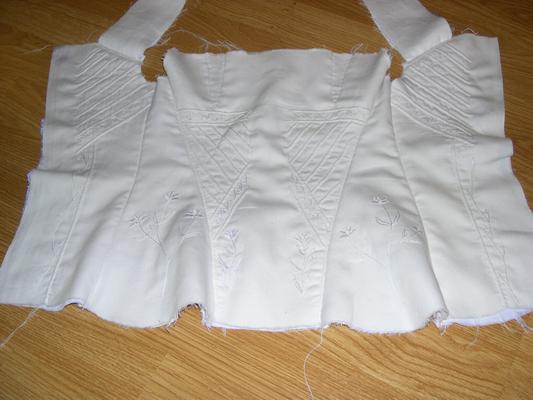
 This corset is from the same pattern as my 1820-1840 corset. I shortened the gussets on this corset to give it an earlier look. |
 |
|
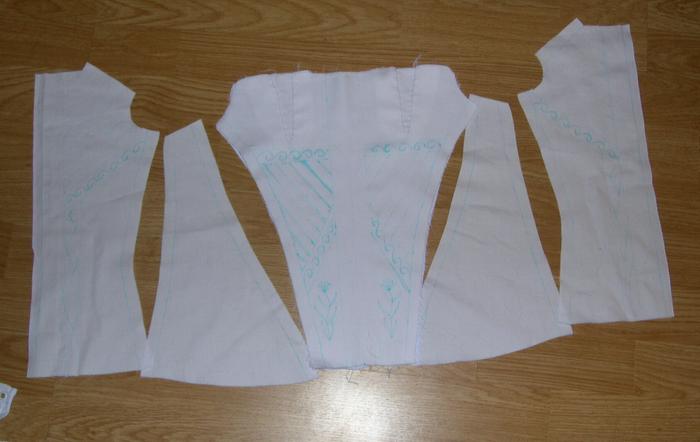
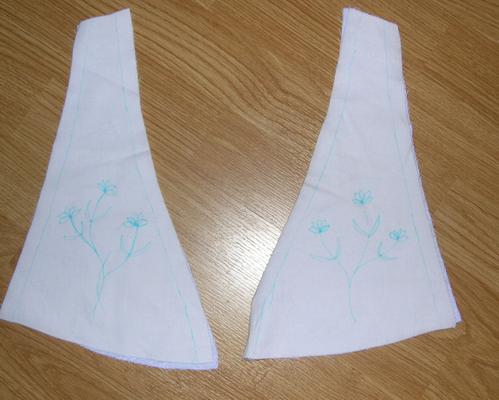 The side pieces don't have any cording, they just have embroidery. Since the embroidery is going through two layers, the linen and sateen, it does stiffen the piece slightly. On the originals that I looked at, the cording seemed to be centered in the center piece, so I decided to keep my sides relatively plain as well. |
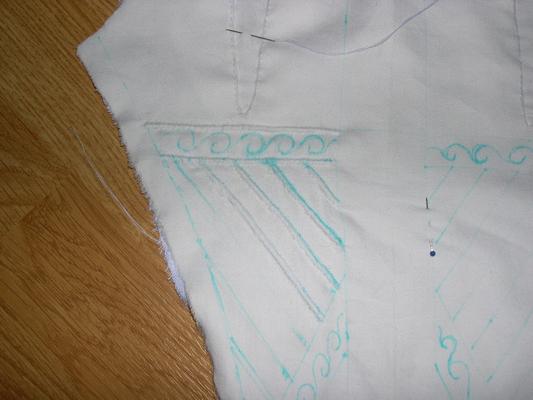 A detail of the cording and embroidery. The straight lines on the corset are sewn, the swirls and flowers embroidered. |
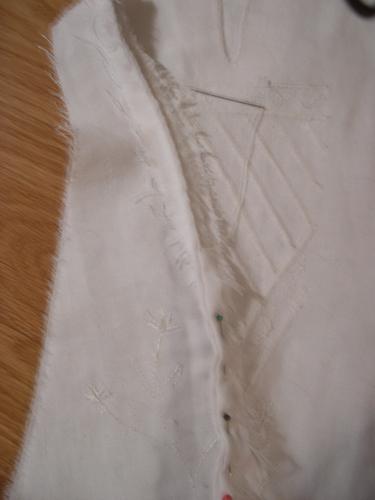
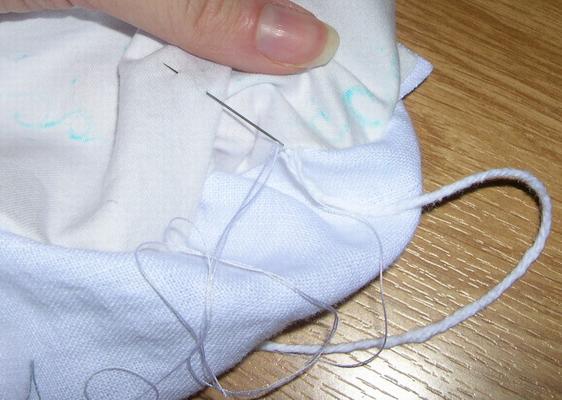 Before attaching the cording, I sewed a straight row of backstitches along a cording line. To attach the cording, I passed the thread through it a few times, then opened the layers and sewed the cording in place. The needle is just stuck there so it'll be out of the way for the picture, so please ignore that :) I then closed the layers and sewed the cording in place, pressing it as close to the first line of stitching (using the needle) as possible. |
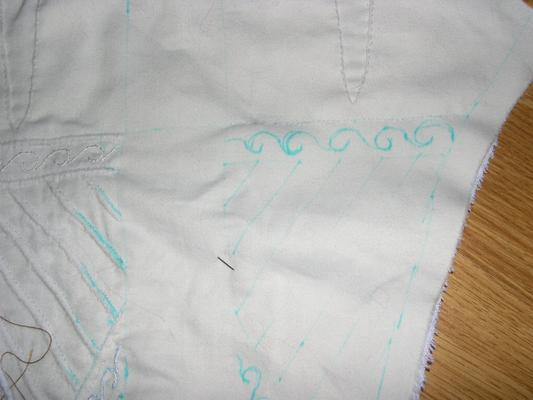 The attached cording from the outside. You can see a little bump and the first row of stitching above the swirls on the right side. |
 The seams are sewn in the same way as my blue print 1780s dress. This is also the way they were sewn on the original corset. You fold the seam allowances in, then sew just away from the edge, creating a ridge. |
 A detail of the seam. |
 The right side of the corset once the seams are shown. From the right side, it looks like a regular seam. |
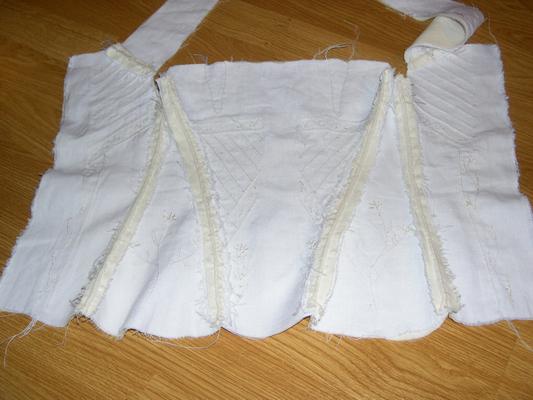 The same from the inside. The inside looks very different, with the ridges made by the folds. |
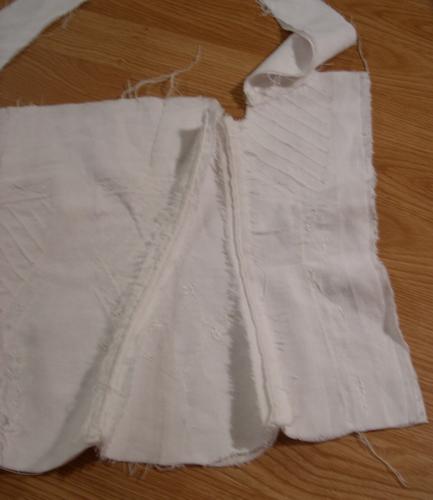 A close up view of one of the seams. |
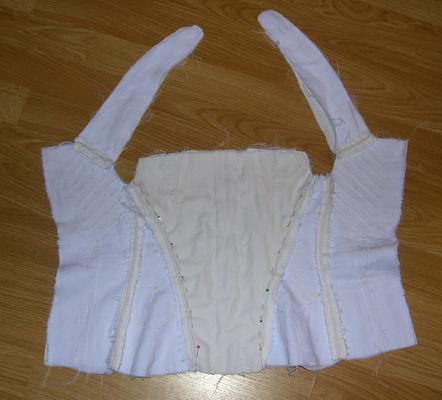 Next, take the lining and place it on top of the corded part. Sew the first lines for the busk pocket through all four layers. Put cording next to those lines. |
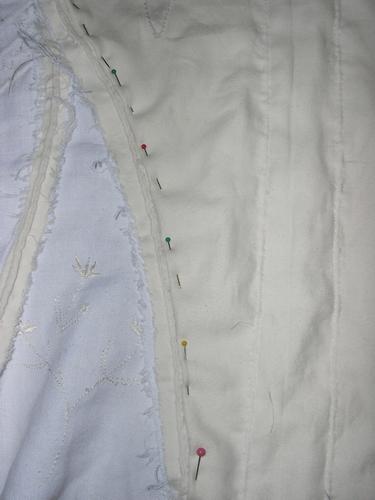 A close-up of the pinned seam allowance. |
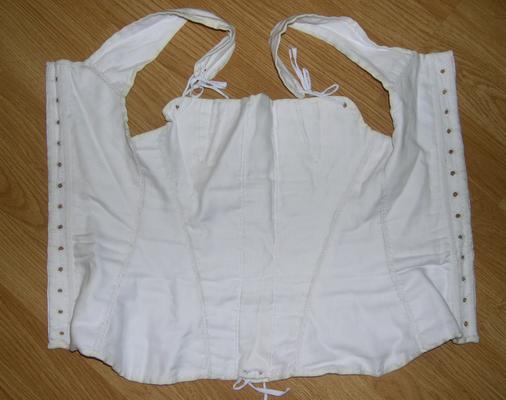 The finished corset from the inside. The eyelets are all done by hand. This picture was obviously taken after a few wearings :) |
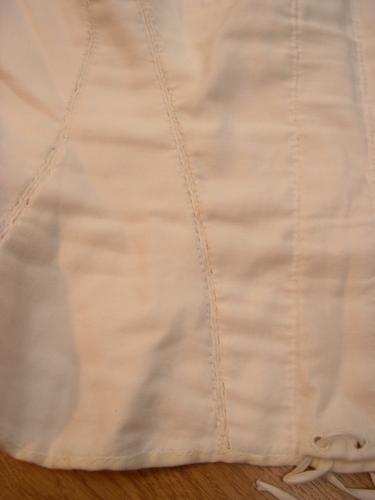 A close-up of one of the finished seams. |
The Corset
Details on the Dressform
My Costumes
The Regency Era