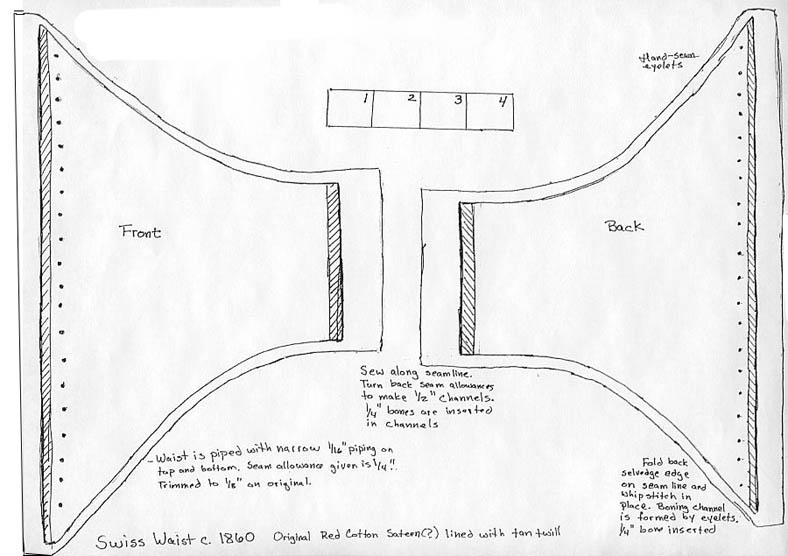
The outermost lines show the seam allowances I added. The inner lines are the seam lines. Most pattern books (such as Janet Arnold) don't add the seam allowances and just use the seam lines (I know many seamstresses are most comfortable using these lines). The diagonal lines indicate where a bone goes.
The seam allowances measure: 5/8" center front and center back (I had to redraw the center front seam allowance on my computer, the pattern was just a hair too big for my scanner. Please double check it before you sew!), 1/4" top and bottom and 7/8" for the side seams.
The finished measurements of the waist are 25" waist, 11" center front and 10" center back.
Construction
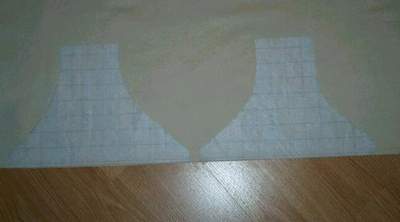
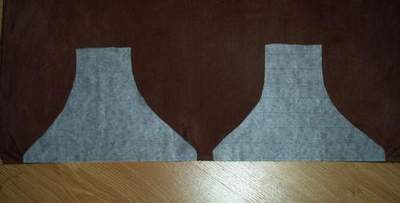
Cut two front and two back pieces of both fashion fabric and lining with center fronts and backs on the selvedge.
Edge stitch together. Treat pieces as one for all following steps. (I just pinned the pieces instead of edge stitching!)
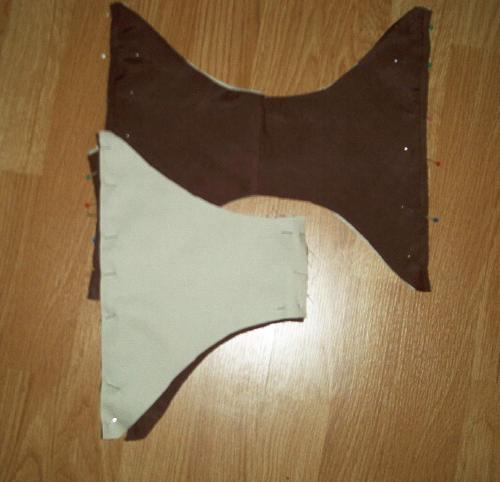
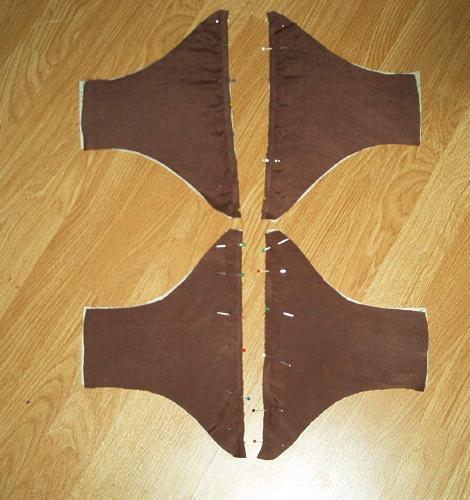
Sew side seams with a 7/8" seam allowance.
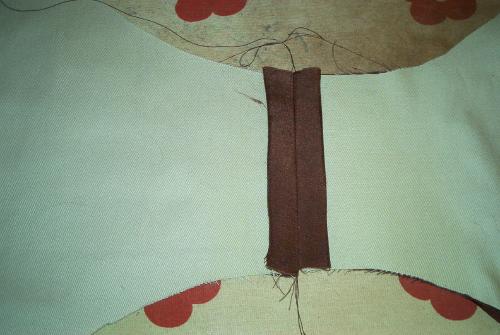
Press allowance under 3/8" inch. Whipstitch into place to make boning channels.
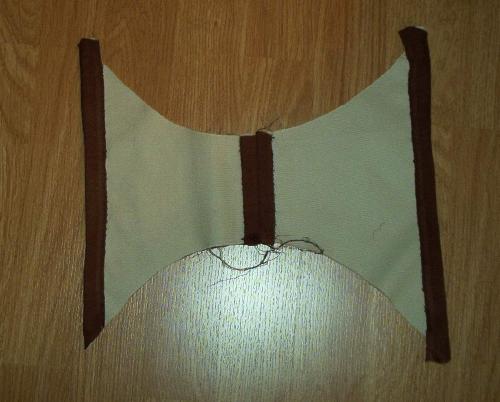
Fold and press center front and back edges in 5/8", whipstitch into place.
Now, there are two ways you can go. Either, using the markings on the pattern, make tiny eyelets 3/8" away from the fold line to form the boning channel or insert boning in the very wide channel and sew the eyelets as the last step. (I chose to do the eyelets last.) If you do the eyelets first, don't do the top and bottom eyelets until after you do the piping. These are both sewn through the piping.
Insert boning in side seams and center front and back channels.
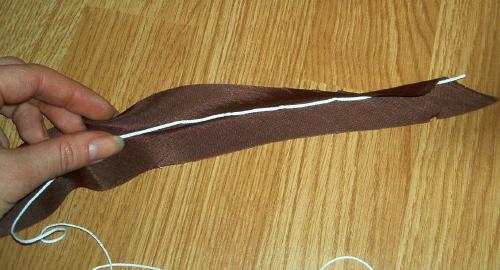
Make piping from your fashion fabric. Cut bias strips to match the measurement of your finished edges, fold in half and press, place a thin cord down the center, fold the bias strip over the cord, and sew with a zipper or pintuck foot as closely to the cord as possible.
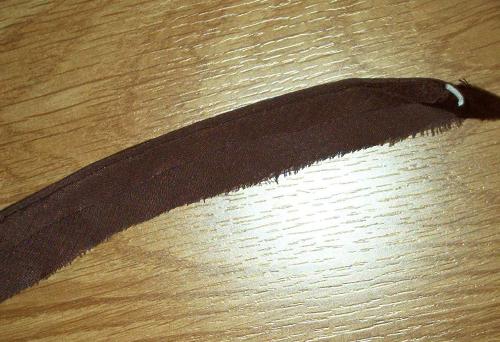
Trim seam allowance on half of piping to match seam allowance on waist. The seam allowance I drew into the pattern is 1/4". So, I cut half of the piping so it only measured 1/4" from the cord. It's a little difficult to see in this picture, but the top layer of silk is about half the length of the bottom.
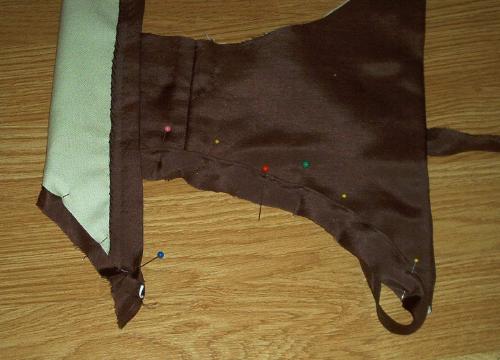
Right sides together, match the trimmed-to-the-seam-allowance edge of piping to the edge of the waist. Sew seam as close to piping as possible. In the picture, the untrimmed edge of the piping is hanging over the edge.
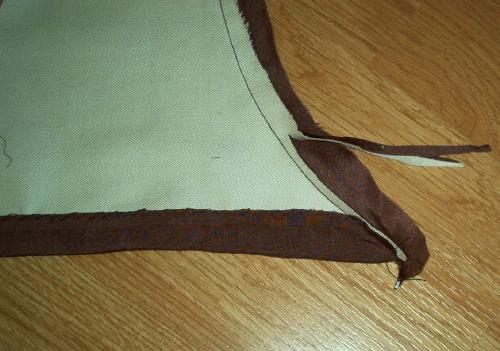
Trim seam allowance (on the waist itself and the bottom layer of piping, be sure to leave the top layer alone so you can turn it!) to 1/8".
Turn the piping to the inside and stitch into place.
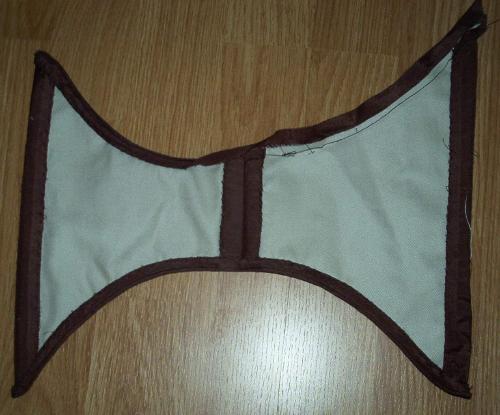
On the dressform
Details
Swiss Waist Home