A Dress from 1770
Construction
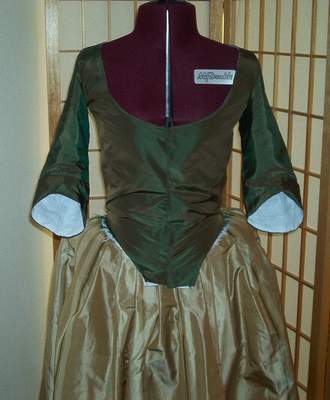 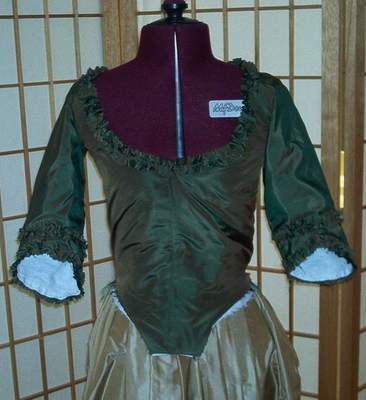 |
| The bodice in progress. Untrimmed on the left, trimmed on the right. The bottom edge was finished when the skirt was attached. The silk was turned in, then the skirt slipstitched to it. Then the lining was turned under and slipstitched to cover the raw edge. |
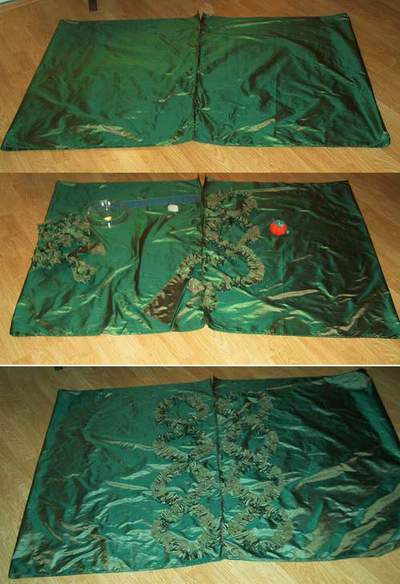 The skirt trimming process. |
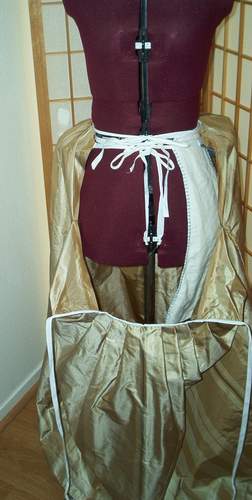 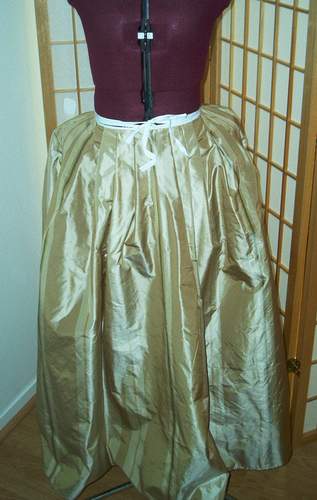 |
| Putting the petticoat on. I love 18c petticoats since they're somewhat adjustable. So, the pleating doesn't have to be a perfect size. It closes with tapes. First, tie the tapes from the back, then tie the tapes from the front. Wrap them around your back and then tie them in front. Tuck them under your petticoat. You also have two slits to reach your pockets through. |
The Dress
The Hat
The Masquerade
My Costumes
Eighteenth Century Home