1880s Day and Evening Dress
Pattern and Construction
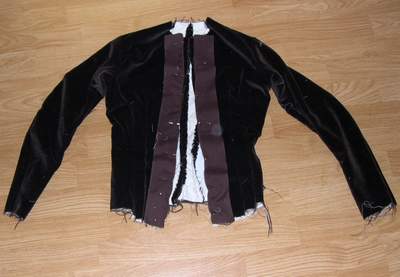 (Please Note that these pictures are slightly out of order. I think it's easiest to describe each part on its own. You can see the unfinished neckline in this picture. When making the bodice, I sewed the placket on first, so I'd know where the center front would be.
|
 The placket sewn into place. |
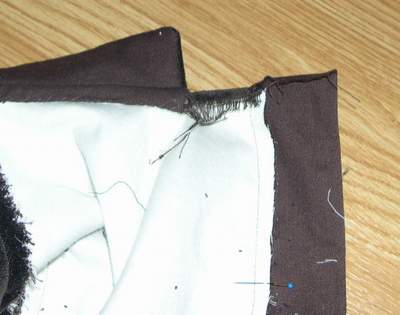 Fold the top edge down, so when you turn the placket to the inside the top edge will be finished. |
 Next, turn the placket to the inside and press. Whipstitch down. On the original, only the side with the buttons is whipstiched, the side with the buttonholes is left free. I chose to whipstitch both sides. |
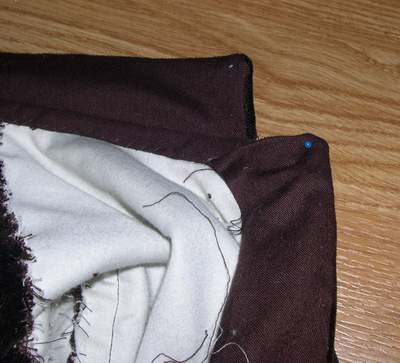
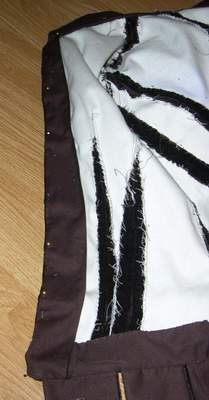 The placket turned to the inside and pinned into place |
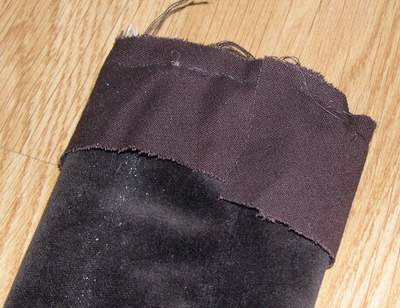
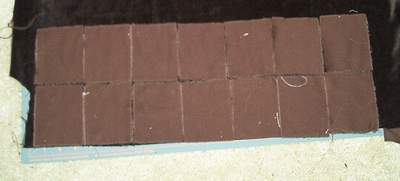 To cut out the tabs, I used my rotary cutter to cut squares of the appropriate size. Then I laid them out on my velvet and used the rotary cutter to cut them. |
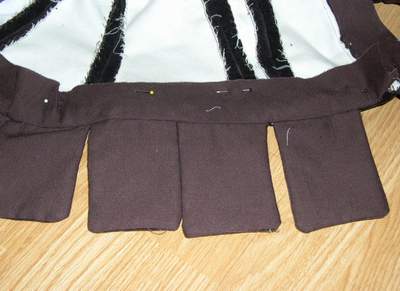
 Next, I marked the bottom of the bodice with pins to determine the placement of the tabs. |
 The tabs are pinned into place, right side of tab to right side of bodice, between each set of pins. The bottoms of the tabs face up, the raw edge of the tab aligned with the raw edge of the bodice. |
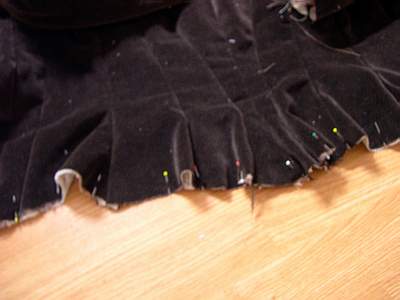
 Turn bias strip up and press. Pin into place, easing to fit. Some small pleats in the bias tape will be necessary. |
 To finish the sleeves, take a 2" bias strip and sew it, right sides together to the cuff. |
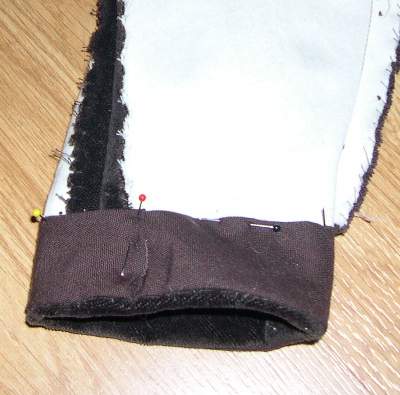 Turn the bias strip to the inside, fold the edge under and whipstitch into place. |
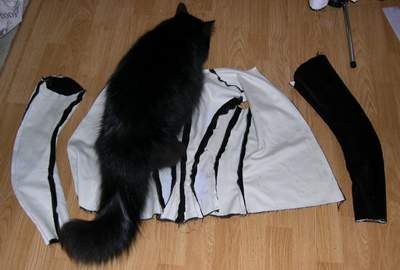 Koshka, helping as usual!!! |
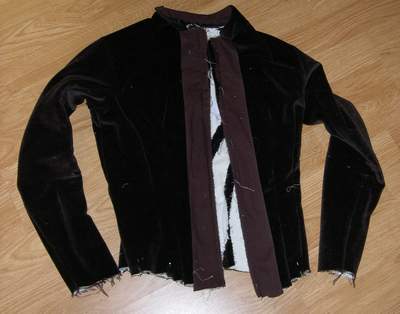
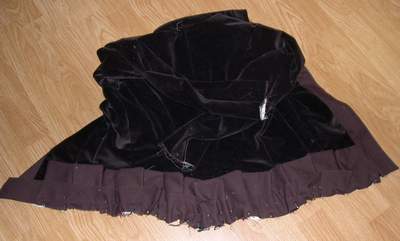
| The bodice is now finished, except for the buttonholes and buttons. It closes with 15 buttons, about 1/2" in from the edge. |
The Pattern
Pattern and Construction, Page One
The Dresses
Details
My Costumes
The Bustle Era
 Home now!