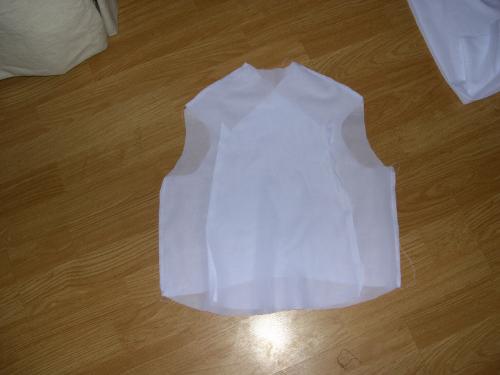
 Sew the shoulder and side seams with French seams. The first step of the French seams is shown. |
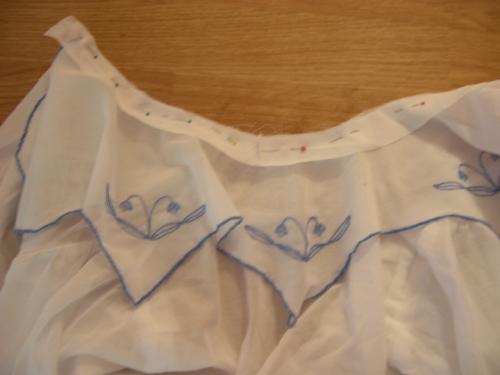
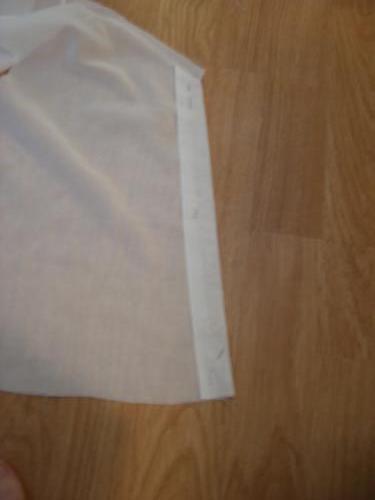 Press placket to inside. |
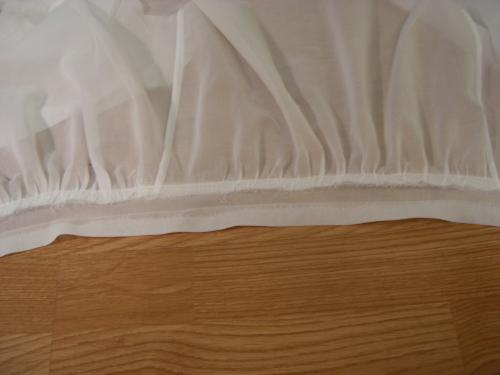
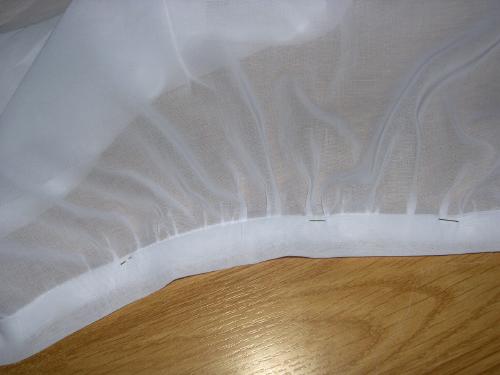
 Run gathering stitches on fronts and back. |
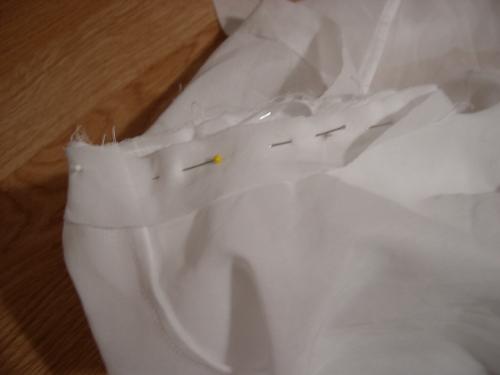
 Pull up to fit waistband. The side seams should be slightly towards the back. Pin right sides together and sew with your chosen seam allowance (I used 1/2 inch). Press towards waistband. Press bottom of waistband up 1/2 inch (or your chosen seam allowance). |
 Press waistband in half and pin in place, covering raw edges. Machine sew along along all edges-top, bottom and sides-keeping stitches close to the folds. |
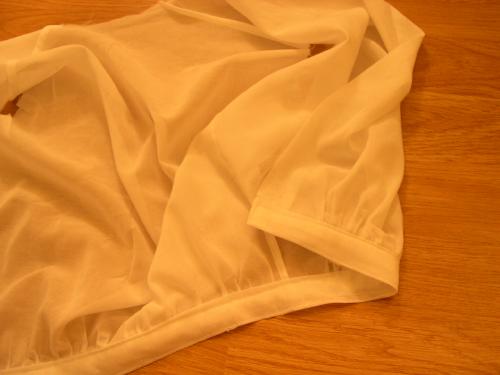 A picture of the above step completed. |
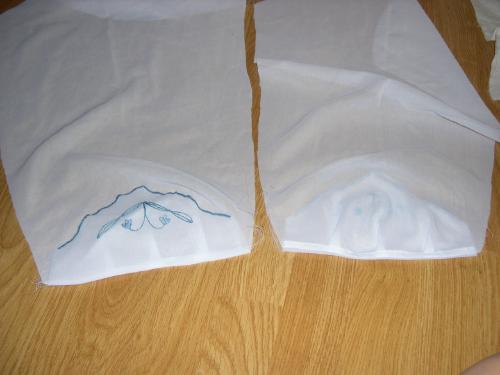
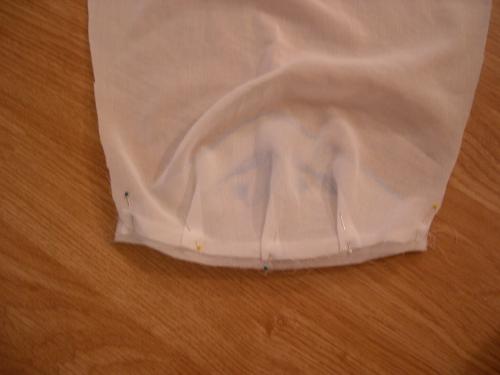 Pin cuff to sleeve, right side of cuff to right side of sleeve, slightly offsetting the cuff. Pleat sleeve to fit. |
 The view from the other side, this is the wrong side of the cuff facing up now. |
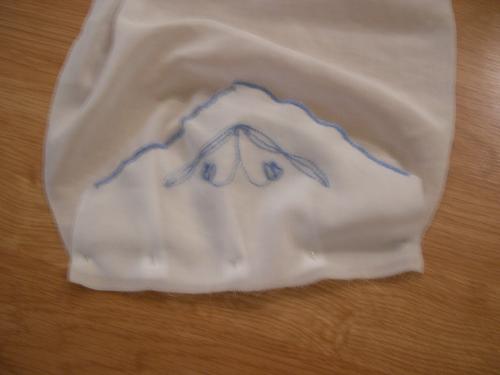
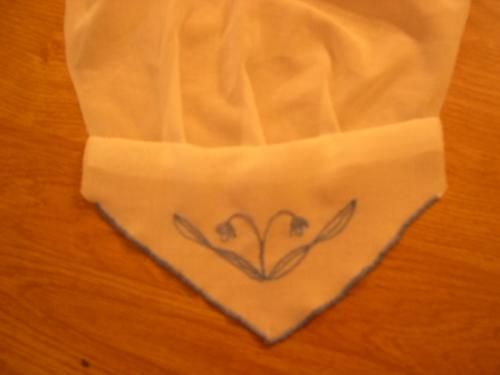 Basically the same view, but this time, the cuff is folded down and the right side of the cuff is showing. |
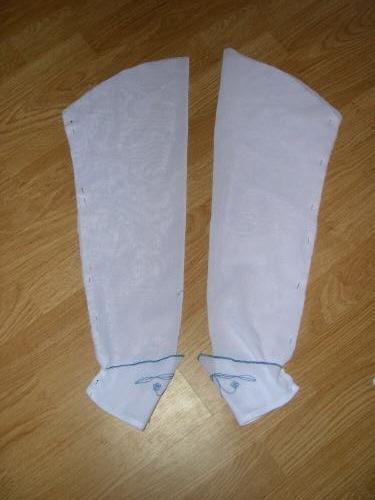
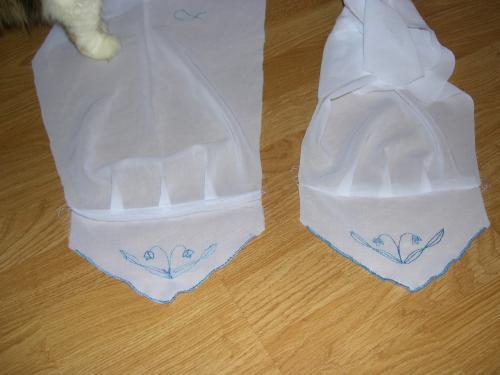 Sew cuffs to sleeves, using the edge of the cuff to determine your seam allowance. In the sleeve on the left, you can see the seam showing. It's the right side of the sleeve and the wrong side of the cuff. |
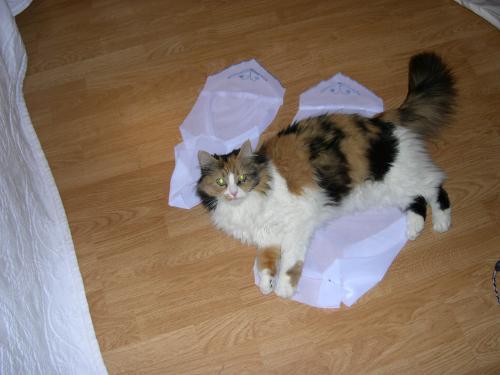 Find a cat to help. |
 Press seam allowances towards sleeve, and make a flat felled (or run and fell, if you prefer) seam. On the left we still have the right side of the sleeve and wrong side of the cuff. |
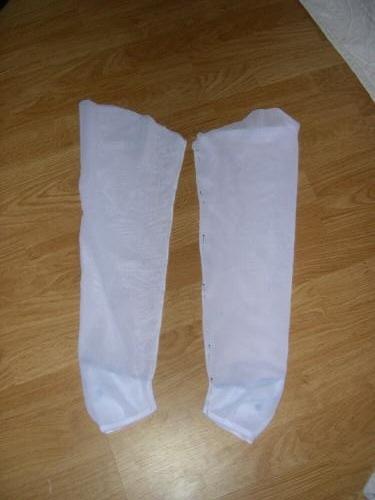
 Next step, press the cuffs towards the sleeve. Now the sleeve on the left shows both the right side of the sleeve and cuff. |
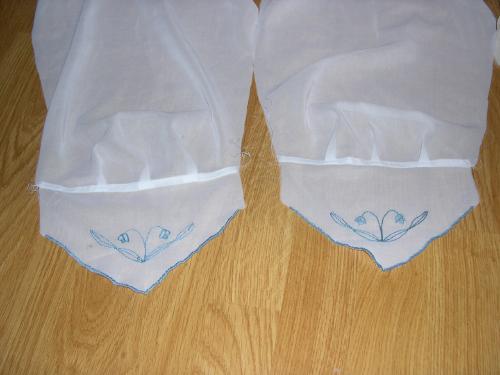
 The sleeves are sewn with French seams. Wrong sides together, pin the sleeves, being sure to catch the cuff. Sew. |
 Turn the sleeves inside out, pin the second part of the French seam, sew. |
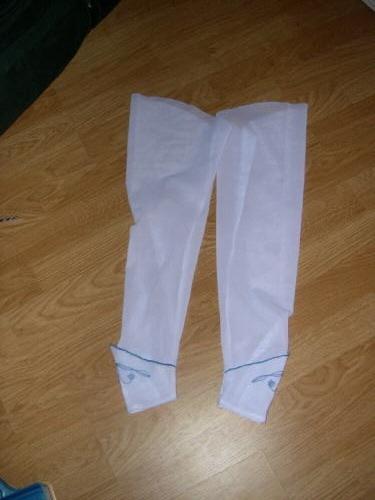 The sleeves turned right side out. The cuffs are caught in the sleeve seam, which helps them to stay up. |
 Next, sew the sleeves in. Run gathering stitches at the tops of the sleeves and pull to fit armscye. Pin. Run a piece of self bias around armscye, sandwiching the blouse itself between the bias and sleeve. Sew. |
 Pin collar to neckline. The edges of the collar should be about 1/2 inch from the center fronts. Pin a piece of bias over collar. Sew. |
 Trim seam allowance. Fold uncut end of bias under, fold over seam allowance and pin to neckline. Sew binding in place. |
The Reproduction
Patterns
The Edwardian and Teens Era